Overview
TalkifAI API keys authenticate your requests to TalkifAI APIs, including:- Public Chat API (
https://api.talkifai.dev/v1/chat) - Data Export API (
https://api.talkifai.dev/api/export) - Other public endpoints
Key Types
TalkifAI supports two types of API keys:1. Secret Key (Server-Side Only)
Use for: Backend servers, serverless functions, secure environments Characteristics:- ❌ Never expose to browser/client-side code
- ✅ Full access to all APIs
- ✅ No domain restrictions
- ✅ 1-year expiry
2. Widget Key (Browser-Safe)
Use for: Website widgets, frontend applications, public embeds Characteristics:- ✅ Safe to include in client-side code
- ✅ Domain-locked (CORS restricted)
- ✅
localhostalways allowed for development - ✅ 1-year expiry
- Requests from unlisted domains are automatically rejected
- Subdomains are automatically covered (e.g.,
mysite.comalso allowsstaging.mysite.com) - Can be revoked without affecting other keys
Creating an API Key
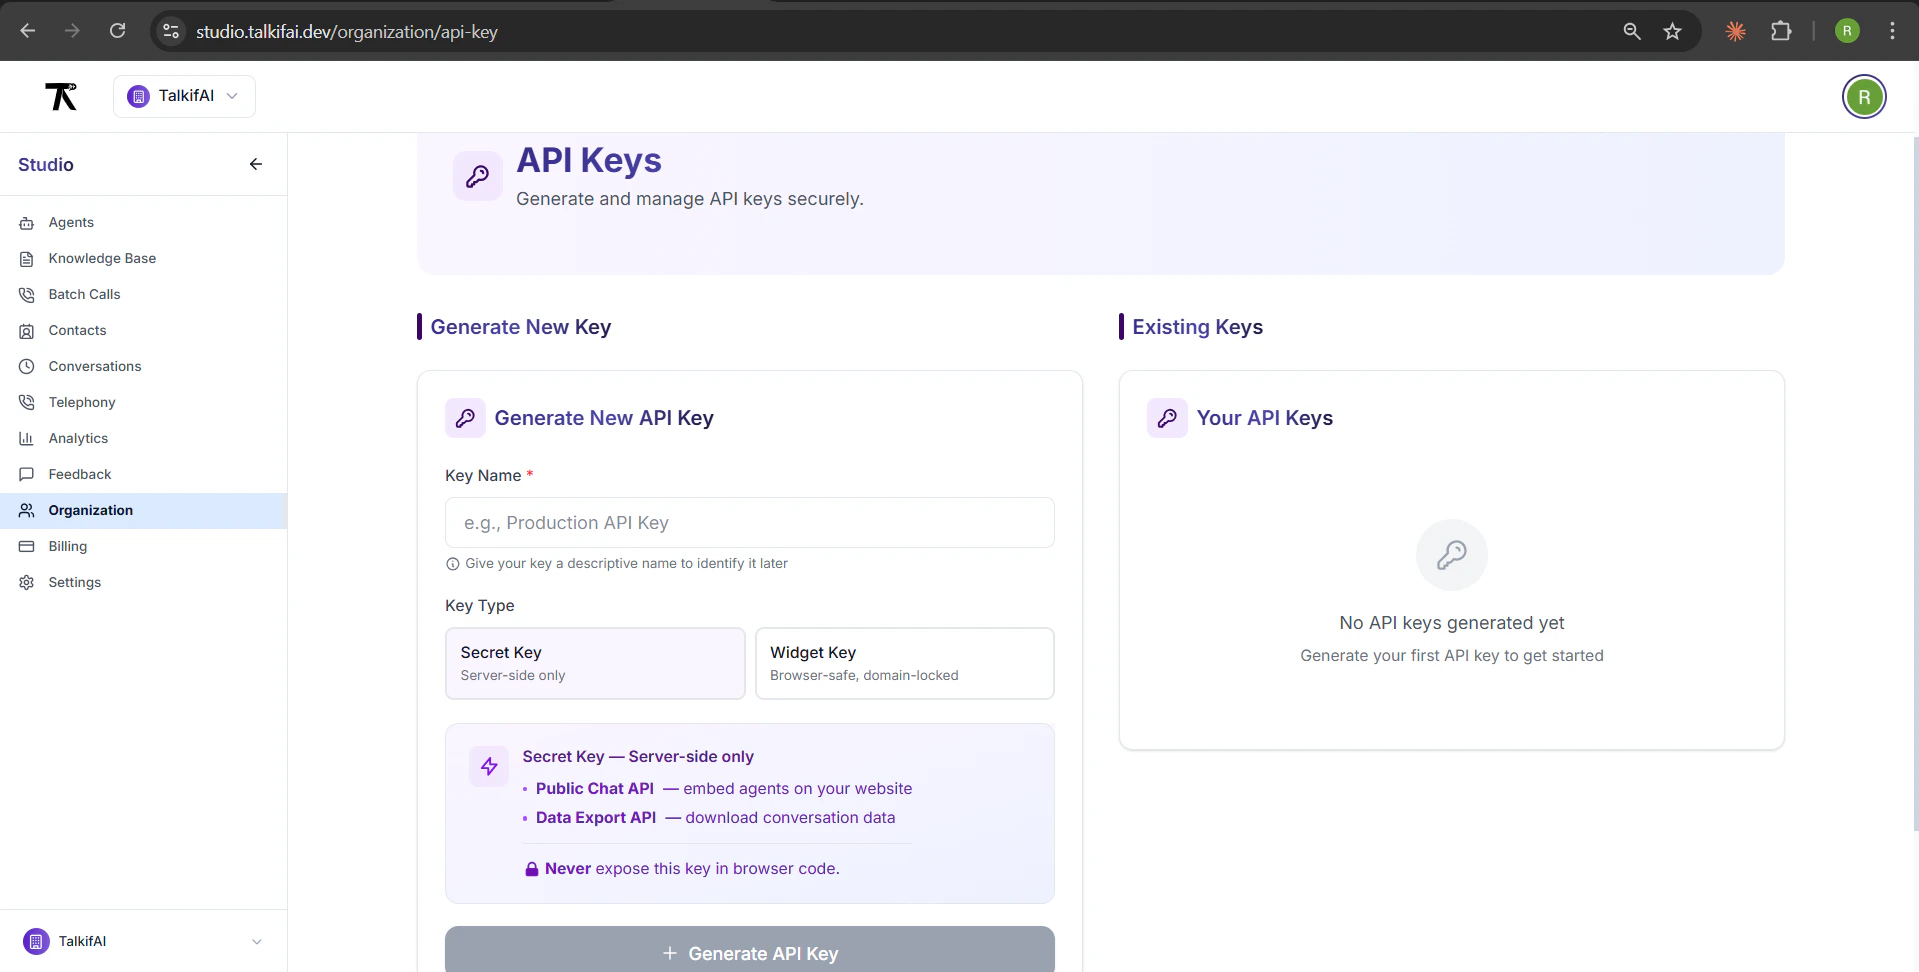
Step 1: Navigate to API Keys
URL:/organization/api-key
Path: Organization → API Keys (sidebar)
Permissions:
- Owners: Can create and manage keys
- Admins: Can view keys
- Members: Can view keys
Step 2: Configure Key Details
1. Enter Key Name (Required)
Give your key a descriptive name to identify it later:- Max 50 characters
- Examples: “Production Server”, “Website Widget”, “Dev Testing”
2. Select Key Type
Secret Key:- For server-side use only
- No domain restrictions
- Full API access
- For browser/frontend use
- Domain-locked (CORS restricted)
- Safe for public embeds
3. Add Allowed Domains (Widget Keys Only)
For Widget Keys, specify allowed domains (comma-separated):- Subdomains are automatically covered (
mysite.comincludes*.mysite.com) localhostis always allowed for development- Multiple domains: separate with commas
- Protocol (
https://) is optional
Tip: Add your production domain, staging domain, and localhost for development.
Step 3: Generate Key
Click Generate API Key button. Key is shown ONCE:- Copy immediately to clipboard
- Store in password manager or environment variables
- Cannot be retrieved later (only the prefix is stored)
Key Format
Secret Key Format
- No special prefix
- URL-safe characters only
- Unique per key
Widget Key Format
tk_widget_prefix identifies it as browser-safe- Domain-locked via CORS
- Can be safely exposed in client-side code
Key Details
After generation, key details are shown:Managing Existing Keys
View Keys
Location: Organization → API Keys → “Your API Keys” section Displayed Information:- Key name
- Key type badge (Secret/Widget)
- Key prefix (first 8 characters +
••••••••) - Created date
- Expiration date
- Status (Active/Disabled)
- Allowed domains (Widget keys)
Revoke a Key
Steps:- Find the key in “Your API Keys” section
- Click Revoke API Key button
- Confirm deletion
- Key is immediately invalidated
- All active sessions using the key are terminated
- Cannot be undone
API Key Usage
Chat API Endpoints
Authentication Methods
Session Creation (Server-Side or Widget):Security Best Practices
1. Use Widget Keys for Frontend
✅ Correct:2. Store Secret Keys Securely
Environment Variables:3. Rotate Keys Periodically
Recommended: Rotate keys every 6-12 months Process:- Generate new key
- Update applications with new key
- Test thoroughly
- Revoke old key
4. Use Separate Keys per Environment
Best Practice:- Production:
Production Widget - Staging:
Staging Widget - Development:
Dev Testing
- Isolate issues to specific environment
- Revoke one environment without affecting others
- Track usage per environment
Troubleshooting
”Invalid API Key” Error
Causes:- Key is incorrect or truncated
- Key was revoked
- Wrong key type (Secret vs Widget)
- Verify key is copied correctly (no extra spaces)
- Check key status in Organization → API Keys
- Generate new key if needed
”CORS Origin Not Allowed” Error (Widget Keys)
Causes:- Request from unlisted domain
- Domain format incorrect
- Add domain to allowed domains list
- Include both root and www variants if needed:
mysite.comwww.mysite.com
- Save and wait ~1 minute for propagation
”Insufficient Credits” Error
Causes:- Organization has no credits remaining
- Go to Organization → Billing
- Add credits to your organization
- Retry request
Related Documentation
- Chat API Reference — REST API for chat integration
- Widget Integration Guide — Embed widget on your website
- Billing & Credits — Manage organization credits
Next Steps
Generate API Key
Create your first API key in Organization settings.
Embed Widget
Use a Widget Key to embed chat on your website.
Chat API Guide
Integrate chat via REST API with custom UI.
Security Best Practices
Learn how to keep your keys secure.